Wednesday, February 29, 2012
Model Railroad Hobbyist
Model Railroad Hobbyist
http://model-railroad-hobbyist.com/
Free? A FREE train mag available online?
For free?
YES! Model Railroad Hobbyist is a free train hobby mag online. It's packed with ads and is online and not printed, so the price is right when it comes to getting the product out to the customer.
And honestly, I don't mind the adverts. As a matter of fact, I like them. They let me see what items are out there and get me thinking about things that I might want for me layouts. And, free is good.
The "mag" is packed with information and helpful articles. The production level is top notch and the online mag is easy to browse through and make use of. I'm sure iPad owners will love the setup. And, they can cart the mag around a little better than I can on my laptop. The interface is clear and the left and right arrows allow for easy page turning. There are three views to choose from and options to jump to pages and email to friends as well.
It's not the same as a paper magazine - I know, but the bad aspects are far less than the good the online mag provides. The smaller eco footprint, smaller home footprint (no piles and piles of mags laying around) and...the mag being free are all big points in the plus column.
Take a look when time allows. The simple framework and easy to use interface will please, I'm sure.
Tuesday, February 28, 2012
Old Town Progress
Well, I've managed to make some progress with Old Town - soon to be re-named!
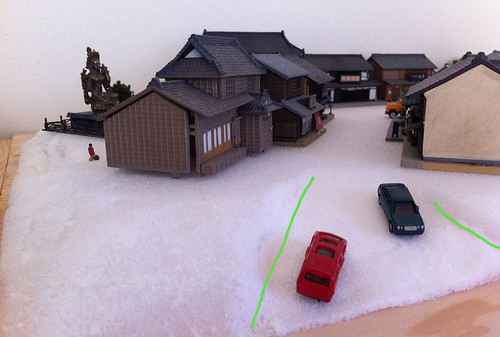
While Downtown is undergoing preparations for being packed up (SO SAD! I hate this office move!), Old Town is actually being worked on. I'm using styrene as a base hill layer and getting a little variation in height which is working out well.
The main town is high on a hill with several roads leading up to it. The Temple Area is also on a hill. Between the two sections, a small valley lays. At the end of the little valley, the start of the pond with boat rentals. In my minds eye, the flow is starting to make some sense.
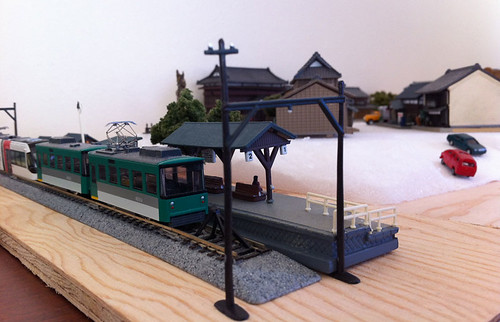
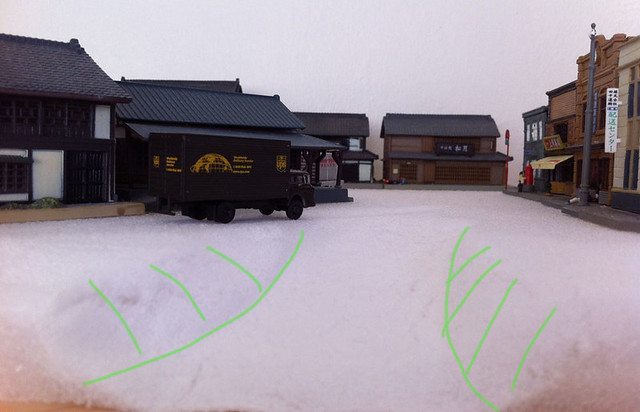
To the far left, the main station area brings visitors in. In front, the small main road leads visitors who braved the small, mountain road towards the "out of scene" parking area. (Which may turn into an "in scene" parking area at some point.)
All of this is being built out with a future, full layout being built once we get more space. This will combine the Downtown section with the Old Town section. (More info on that here)
 I discovered something awesome when I started working with the styrene. My initial plan was to hack away at the messy stuff with knives, saws and the like. When I started this part of the process, it was a huge mess with slow progress. I was just about to look into a hot knife solution (used for cutting foam) when I pressed into an area of the styrene with my thumb. The area squished in perfectly. I tried to press in the area I was working on to mold it and it worked like a charm. When my thumb got sore, I snagged a thick shot glass and used it to press in the styrene. I was able to mold the rough cuts into the shapes I was looking for without cutting. Made me VERY happy.
Once I lock down the building positions, I plan to do additional molding and sculpting to get some subtle height variation between the buildings and add some walkway variation as well.
Once that's done, I plan to glue down the styrene and give the whole of the deck a base coat of dark brown before working in the ground cover and additional painting i have planned. Though, I have to admit, when I saw the white of the styrene, I gave thought to basing the spot in snow! :)
Some additional shots here - http://www.flickr.com/photos/malcojojo/sets/72157629476417877/
While Downtown is undergoing preparations for being packed up (SO SAD! I hate this office move!), Old Town is actually being worked on. I'm using styrene as a base hill layer and getting a little variation in height which is working out well.
The main town is high on a hill with several roads leading up to it. The Temple Area is also on a hill. Between the two sections, a small valley lays. At the end of the little valley, the start of the pond with boat rentals. In my minds eye, the flow is starting to make some sense.

To the far left, the main station area brings visitors in. In front, the small main road leads visitors who braved the small, mountain road towards the "out of scene" parking area. (Which may turn into an "in scene" parking area at some point.)
All of this is being built out with a future, full layout being built once we get more space. This will combine the Downtown section with the Old Town section. (More info on that here)
 I discovered something awesome when I started working with the styrene. My initial plan was to hack away at the messy stuff with knives, saws and the like. When I started this part of the process, it was a huge mess with slow progress. I was just about to look into a hot knife solution (used for cutting foam) when I pressed into an area of the styrene with my thumb. The area squished in perfectly. I tried to press in the area I was working on to mold it and it worked like a charm. When my thumb got sore, I snagged a thick shot glass and used it to press in the styrene. I was able to mold the rough cuts into the shapes I was looking for without cutting. Made me VERY happy.
Once I lock down the building positions, I plan to do additional molding and sculpting to get some subtle height variation between the buildings and add some walkway variation as well.
Once that's done, I plan to glue down the styrene and give the whole of the deck a base coat of dark brown before working in the ground cover and additional painting i have planned. Though, I have to admit, when I saw the white of the styrene, I gave thought to basing the spot in snow! :)
Some additional shots here - http://www.flickr.com/photos/malcojojo/sets/72157629476417877/
Tuesday, February 21, 2012
KATO E3 vid and Poor Me
First, I have to get a little "Poor Me" moment in. It's just a bit of blog therapy. :)
I recently had a birthday. I hate my birthdays - that needs to be said. I think they were ruined for me because my parents made them SO AWESOME when I was a kid that everything else pales. Seriously, they'd be hard to beat! My wife set up a fantastic gathering for me one year, but on average I'd rather just skip it save buying myself goodies with the birthday as an excuse to do so. Heh.
So, keeping that in mind, I choose to skip my "special day" this year. Good thing, too - I ended up working the whole of the weekend. I figured I'd bank the time and have a personal, hobby weekend on the 16th when my wife was away.
Well, Saturday the 11th rolls around and WHAM! I get hit with a horrid cold. It got so bad that the entire "Hobby Weekend" was a wash. I didn't even have a voice to participate in MODEL RAIL RADIO. THAT really was a downer. However, I did get lots of rest, drink lots of tea and managed to watch several films that I've been meaning to watch, so it wasn't a complete bust. But...my hobby stuff...
*sniff sniff*
Ok...enough of the POOR ME section.
Check out this fab KATO video. A nice Shinkansen running through a grand N-scale layout!
Tuesday, February 14, 2012
Thursday, February 9, 2012
Additional Station photos
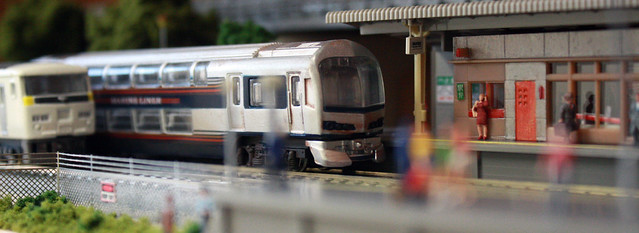
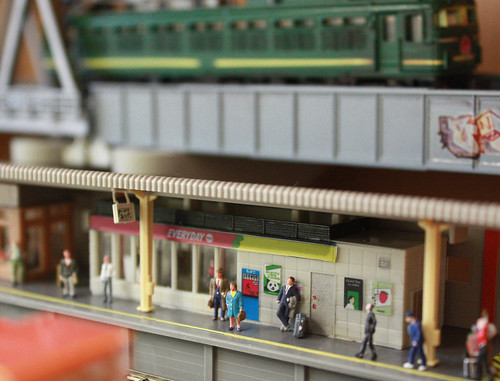
The Ryokō Station is getting more and more busy. The new residential section of Briddon over the hill is making the morning commute a little more crowded, however the addition of a few trains has helped matters greatly.
Labels:
briddon,
hobby,
japan,
kato,
kitbash,
model railroad,
n scale,
n-rail,
n-scale,
railroad,
san francisco
Additional Work Layout Photos
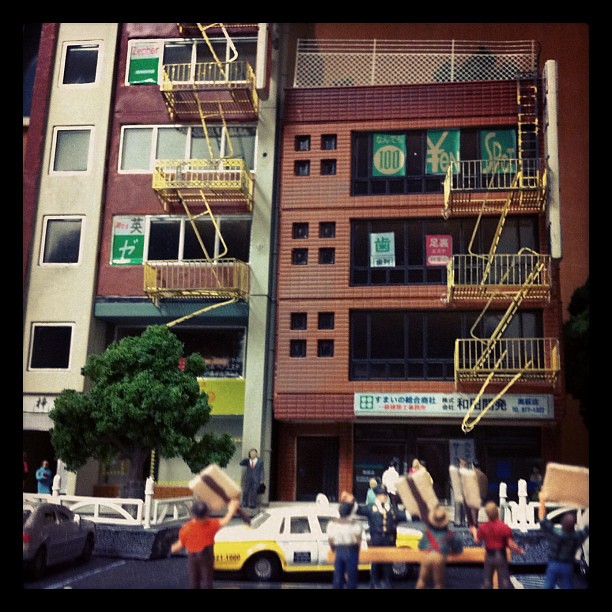
I've gone through and taken some more photos of my work layout. We just found out we have to MOVE at the end of March, so the layout will have to be packed up for moving, sadly.
Even more crazy making is having to make sure I get another office space! I need to have a space where I can re-set the ole work layout or I'll be really upset. :)
More photos up on FLICKR: http://www.flickr.com/photos/malcojojo/sets/72157628630757331/
Even more crazy making is having to make sure I get another office space! I need to have a space where I can re-set the ole work layout or I'll be really upset. :)
More photos up on FLICKR: http://www.flickr.com/photos/malcojojo/sets/72157628630757331/
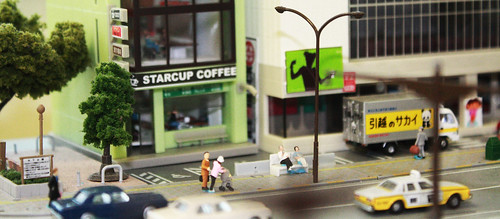 |
| The STARCUP COFFEE spot! :) |
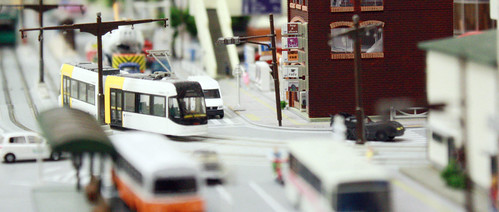 |
| Morning tram out to Old Town |
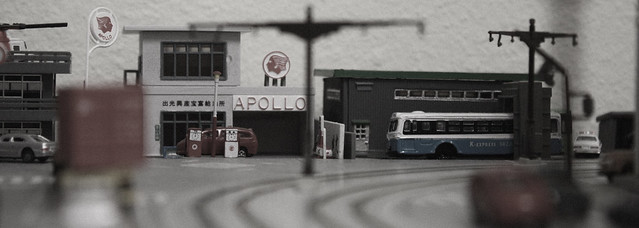 |
| Apollo Gas - $3.00/gallon when paying with cash! |
Wednesday, February 8, 2012
The Baby Goes To Boston (jiggle joggle)
Laura E. Richards (Author), Sam Williams (Illustrator)
http://www.amazon.com/Jiggle-Joggle-Jee-Laura-Richards/dp/0688178324What does the train say? Jiggle-joggle-jiggle-joggle
What does the train say? Jiggle-joggle-jee.
Will the little baby go riding with the locomo?
Loky-moky-poky-stoky-smoky-choky-chee!
Ding! Ding! The bells ring! Jiggle-joggle-jiggle-joggle
Ding! DIng! The bells ring! Jiggle-joggle-jee.
Ring for joy because we go riding with the locomo!
Loky-moky-poky-stoky-smoky-choky-chee!
Look how the trees run! Jiggle-joggle-jiggle-joggle
Look how the trees run! Jiggle-joggle-jee.
Are they running for to go riding with the locomo?
Loky-moky-poky-stoky-smoky-choky-chee!
Over the hills now, Jiggle-joggle-jiggle-joggle
Down thru the vale below, Jiggle-joggle-jee.
All the cows and horsies run, crying "Won't you take us on?"
Loky-moky-poky-stoky-smoky-choky-chee!
So, so the miles go! Jiggle-joggle-jiggle-joggle
Now we're fast and now we're slow, Jiggle-joggle-jee.
When we're at our journey's end, say goodbye to snorting friend...
Loky-moky-poky-stoky-smoky-choky-chee!!!!!!!
From Publishers Weekly
Originally published as "The Baby Goes to Boston," this poem written by the late Richards in the early 1900s will send toddlers happily off to slumber. Williams (Cold Little Duck, Duck, Duck) takes an impressionistic approach in his watercolors as he pictures a youngster drifting off to sleep. Familiar images from the child's room break into the reverie as the child dreams of being a passenger aboard a toy train that flies above an enchanted landscape. To the accompaniment of Richards's locomotive rhythms, stuffed animals come alive and gleeful trees run over a field of giant colored pencils, "each chasing t'other one." As the "locomo" cheers its refrain, "Jiggle joggle, jiggle joggle, jiggle joggle jee!" the smokestack responds, "Loky moky poky stoky smoky choky chee!" The repetitive rhymes will have youngsters just beginning to play with language confidently chanting along. Williams's watercolors are stunners, densely colored yet shimmering with light, and effortlessly balance the reality of the toddler's bedroom with the fantasy of imaginative play. Ages 2-up. Copyright 2001 Cahners Business Information, Inc.Tuesday, February 7, 2012
Old Town Hillside Building Plan
More plans. More sketches.
I got a great comment on the N SCALE LIMITED forum when I posted something about my Old Town layout plan. Someone said, "These shots are great. Are you going to try to show the same thing on your layout?"
YES! That's exactly what I wanted to do, but I had not thought about it. I knew I loved the image above, but wasn't thinking about getting the same view in my layout. Originally, I had the building rows in line t the edge of the layout. So, you would have to be on the side of the layout to get the view shown above. Thinking about looking down the street, I shifted the houses so that they were on the 45. This way, the viewer will be able to "look up the street" when standing in front of the set.
Lighting would be cool, but I'm not really ready to take it on. I may work the small, battery powered TOMYTEC light setup I have into the hillside, however. It would be so nice to have a soft, yellow glow coming out of the buildings at dusk! Worse case is I just abandon it once I have it in place. I'm not using it now anyway, so I might as well give it a shot.
QUESTION:
I'm wondering what the best system for building out the hillside is for my lack of a work area system.
• My idea right now is using foam core layers to build up the hillside, then I'd lay plaster gauze over that to create the hill itself. The buildings would be stair-stepped into the hillside so they are level and the "small streets" called out in the top image would be sloped. But, is this the best system?
• I could go with more styrofoam and just carve it down.
• Or, there is a builder foam I could carve down into a hillside as well. "Gator Foam" has been called out as a good material as well.
Any comments here would be appreciated! I have a work session planned for the 16th and 17th and would love to have a game plan called out so i can get some base work in!

Subscribe to:
Comments (Atom)


