
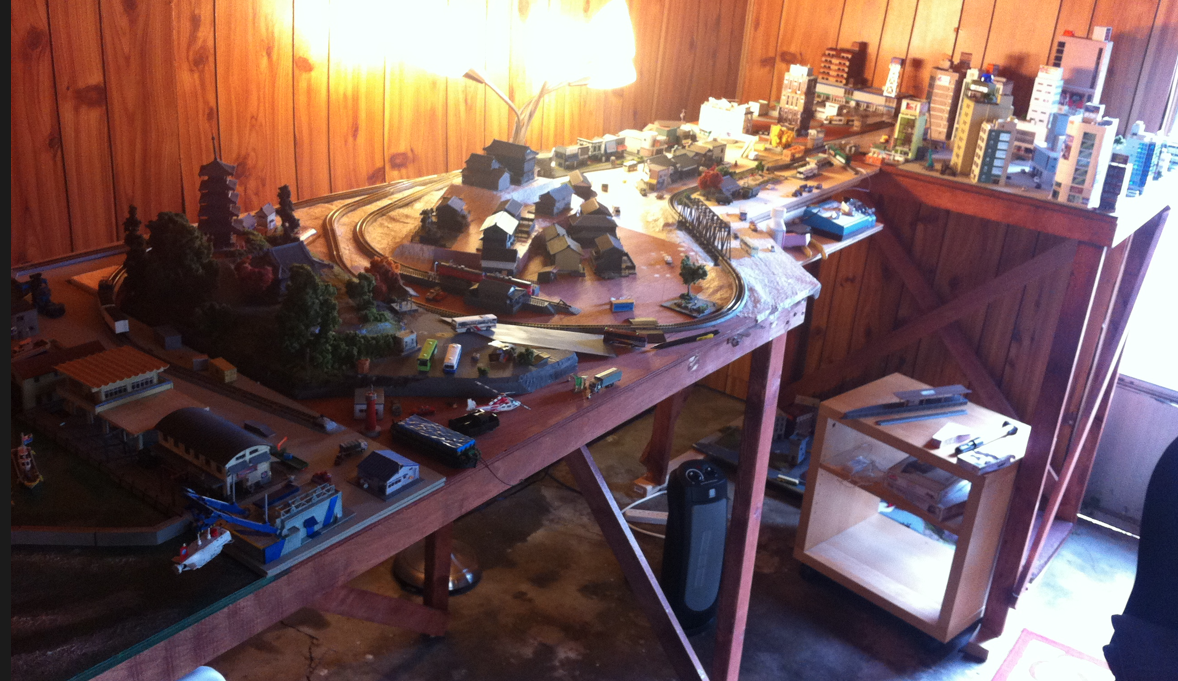
I recently did revamp number three on my Soyokaze Harbor water section and I'm very pleased with how it turned out. This latest round had me using Mod Podge and I'm super happy with the results.
I've had a few people ask me about my process for this, so I thought a more detailed blog post might be a good way to go.
My first round of water from ages ago. Woodland scenics water product. It was ok.


But, it needed a face lift.
First thing was looking at the real thing - fishing boats in Japan. I found several water shots that I liked and aimed to match the color.


I didn't want to go TOO green and I did want a little more wave action, so I went with a similar green and thought it might be a windy day in Soyokaze, so there would be more whitecaps. Very common in Soyokaze. :)
EVERYTHING off...I have work to do! :)
 |
| What a mess |

The painting was rather straight forward once I had my color mixed. I used standard, cheap Michael's Art Supply acrylics.
Now, the old water was created back in 2015 or so and when I did it, small cracks had developed in the Woodland Scenics water material I was using. (Very sad) I thought that i might kill off the cracks if I laid the paint on thick and heavy.
After the paint dried, I used MOD PODGE and followed the method that I picked up from a few YouTube videos. It's rather straight forward. I applied the Mod Podge with a brush, starting on one end and working back to the other end. I made some areas a little thicker than other to get white areas in the water.


When it was a little tacky, I placed my boats and added some Mod Podge behind them to create wakes and engine froth. I was rather happy with it and thought....THOUGHT...I was done.

However....there were two major OOPS moments here.
First, I actually didn't kill my cracks much at all. They were still there.

The second major OOPS came when I checked things out the next day. I had used my MATTE Mod Podge instead of my GLOSS one! hehehehe Nice...non-reflective water. D'OH!

However, I want to see the GLASS HALF FULL rather than GLASS HALF EMPTY moments with my hobby time. It's supposed to be relaxing, not upsetting. So, I thought that I might be able to use the inevitable ROUND 3 of this process to make things better still.
The cracks. I needed to address the cracks for sure. I also wanted the waves to be more natural.
I needed to fill the cracks in - I saw that as the most simple method rather than sanding stuff and creating more mess. I went with simple and just globbed in Elmer's Glue over the major cracked areas. I let it dry, then did another round of painting to tweak the color and add some more variation.
I laid the paint on thick.

The Elmer's and thicker paint application really helped to kill the cracks. The old cracks are on the left and the stripe of paint through the center is the new paint application on the next image.
 |
| MUCH better! |
I did the round of painting, then went in with some white and black paint is spots - blending them in to create some more color variation.

Once the paint was dry, you could really see the paint variance. This shows difference in depths.

Now, for Mod Podge three.
I needed more chaos in the application. The paint brush was to small and even, so I went with a 1 inch foam brush on this round. This gave me a wider coverage range and added a little texture into the mix as well. When I put it on, I put some upbeat music on and tried to let loose a bit. I thought I might have gone too far the other way with things.

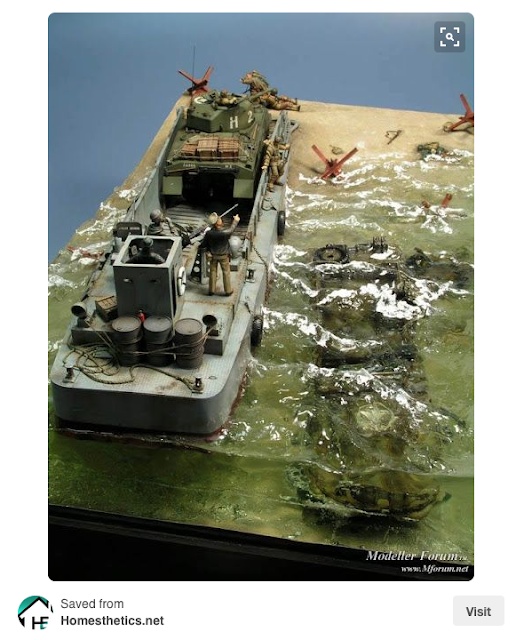
But, once things dried, they were much calmer and gave the effect I wanted. I was super happy with the depth I managed to get with this flat style in lew of a "depth pour" where you melt water or pour it thick into a contained area.


My next steps will be to get all the buildings, water barriers, and boats back on, then go in with yet ANOTHER round of Mod Podge and a smaller brush to add in water hitting the walls and wakes from the boats and their engines. I'll do a separate post with some shots of everything after it dries.
I tried to keep this short, sweet, and to the point, so if you have additional questions, feel free to ask away in the comments section!
Cheers!
Malco
<><>







![http://trash-russia.com/great-scale-model-of-russian-submarine-yury-dolgorukiy-k-535/#prettyphoto[8206]/2/](https://blogger.googleusercontent.com/img/b/R29vZ2xl/AVvXsEj2u4Zp_qkeLkq5lQ49xe_k3MrftqzuwaVbMw96AS5NFaio9uV1s5Ey9NZxm-U9Jwu1P-rqMyBev1m6i175rWpq7kb_EOKNEctzuWAwpAxZl1FsFlIgS-WbqxPVcgrq5LFLdhN3KbG-dXLu/s640/Screen+Shot+2016-09-02+at+9.53.09+AM.png)


