Showing posts with label ballast. Show all posts

Thursday, November 29, 2012

Soyokaze: Landscape work


I've managed to jump start my hobby time again. For a while there, I was caught up in feeling like I didn't want to work on the hobby items I had going due to a general lack of space. I wasn't going to be able to put everything together, so why bother working on it?

Then the Mission Statement for these projects popped back into my head: This is all practice for the future when I have the space for everything to be put together. The items I build out may even be placed directly in the layout space once I have it. So, stop bitching and moaning and get some fun in! :)

And...that I did! I'm having fun in the hobby again and that's nice. It's something I enjoy and something that keeps me off the computer. Well, when I'm not updating my blog space. :::grin:::

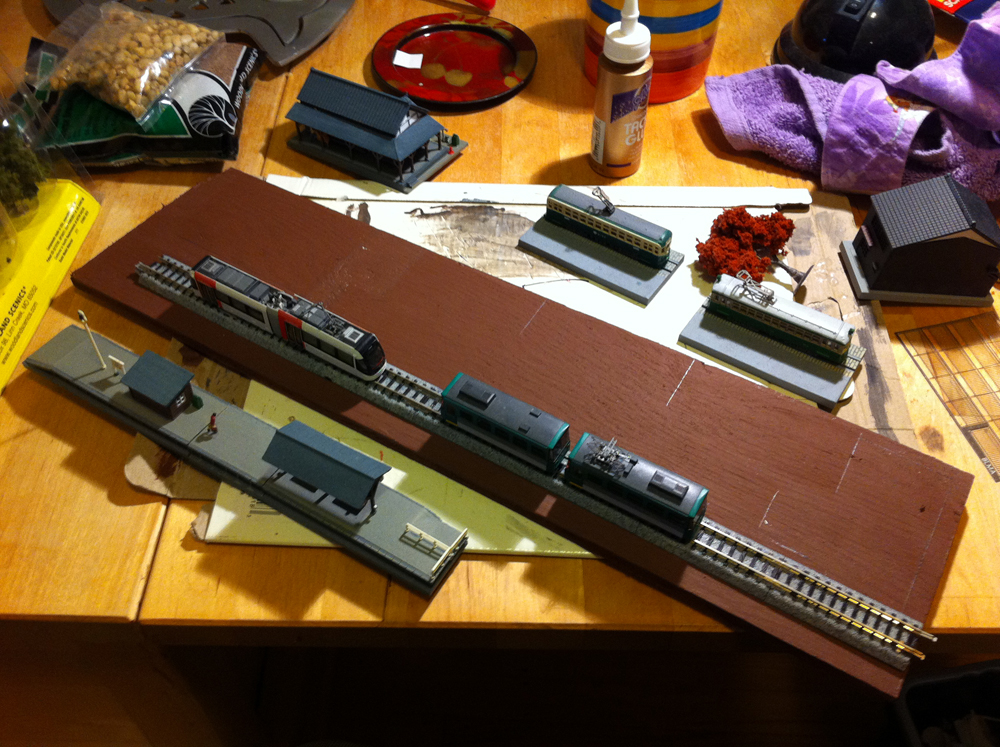
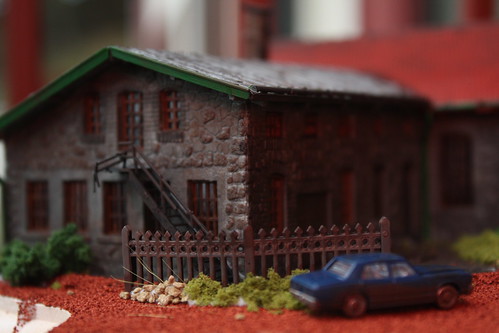
On deck recently was some landscape work on the Soyokaze section. For those playing at home, I completed some work on the Temple side last time - working out the bridge, lake and work station areas along with the addition of some simple lighting in several of the buildings.  So, I jumped over to the Station side to blend in the station area with the main base a bit. I dig how it's turning out.


I started by slapping down a healthy layer of glue. I used full strength instead of my 50/50 water glue mix because I wanted it thicker so I could deal with some gravel issues I had last time.


I smoothed the glue out with my cheap "glue brush" and started laying the gravel down. Once I had the gravel in on several layers, I went back in with my 50/50 mix to lock it down a bit. Once the paths were in place, I did the same process on the hillside areas.


I like keeping things a bit free-form when I'm working on the landscaping side of things. It takes on a more natural appearance and I like the look of it. One thing I'd like to address on the Future Layout® ::grin:: is the foliage types so i can try to make them more like what you'd really see in Japan. As it stands now, it's OK, but not 100%. Japanese style plants, bushes and trees can be had for a price, of course.


I used the same action plan on my truck shed area. This little scene is a personal favorite of mine and I had the idea for the green around the driveway and behind the shed in  my head for a long time. Every time I'd see the favorite shed scene, I'd grind my teeth thinking, "I really need to lay down the grass around that area. It'd look SO much better!" And, go figure - I like it a lot more now that the green is down. Heh


The basic deal was to fill in the spaces between the drive and the sidewalk areas. I set the glue in and put in the green and let myself get a little sloppy figuring that I'd just brush in the slop later. Worked out well because I kept the glue stage clean and tidy.


I let the grass and gravel get a little messy when I dropped it in, then I went in and cleaned it up afterwards.
Before the final round of cleaning up. WAY better.


I love the final look of this area. I can't wait to create more little interaction scenes like this. I love 'em!


The completed hillside path and station area blend. Not bad. The gravel wraps around the the buildings in the background.

So, it looks like I'll have another month of hobby time before the arrival of my new little one sends me off the rails again. I'm sure things will go back to a crawl at that point, but it will be worth it! :) I'll see if I can get some basic coverage down between now and then so that, if time allows (yeah, right! ::giggle::) I'll be able to work on smaller scene areas. We'll see how that goes.

Wednesday, July 11, 2012

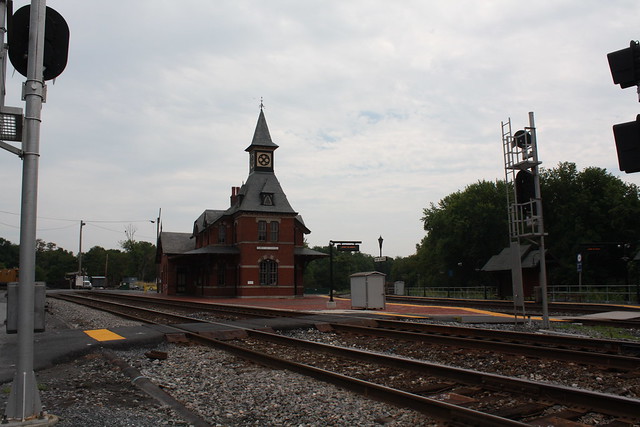
Point of Rocks Station

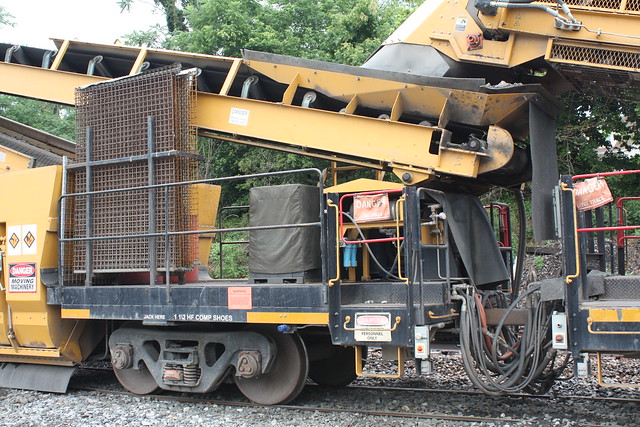
Are you looking for some reference shots of American East Coast train stations? Take a look at the Point of Rocks shoot I have up on my FLICKR account.

http://www.flickr.com/photos/malcojojo/sets/72157630503373686/with/7539087330/

Some nice brick, ivy, and weathering along with some cool train track maintenance machinery and track-side details. Large photos for zoom and pan goodness!

Enjoy and let me know if they helped you!

:)


Wednesday, June 20, 2012

Soyokaze Station - Round One

Keeping the momentum rolling forward with some work in on the Soyokaze Station. The idea is simple - the Station is the main line into Soyokaze. In the wondrous future, the station will be connected to the main train line and trams will come in packed with Soyokaze visitors. :)


This was round one to set in some ground work, fencing and the general arrangement of the buildings. I need to go back in and clean some items up, dust some over ballast off and set in some of the finer details and some more people. I like where it's going so far.

Wednesday, November 16, 2011

Styrene Filler Project


I'm working on my Old Town section a bit finally!

I've made the choice to use the gray plates for the Downtown section and the tan plates for the Old Town section. MUCH better with the unified look and feel to the bases of each section. It was starting to look very strange due to the major differences in color and height.  The issue now is the plate itself.

You can see to the left of Image A. that there are clips that hold the plates together. The clips fit into hols in the surface. Event when the clips are in place, the difference is very noticeable.  Then there's the color of the plate itself. The tan makes the whole look very toy-like, not like dirt. I'm using the cover method to deal with the situation, but using styrene instead of ballast this time.

Styrene is awesome. I've been using it to build floors for my empty shell buildings and bases, so it made sense to use it for this filling in project. And, while I could have just cut big squares to fill in, I thought it would be more interesting to create a little more depth to the scene in general.

Image C. shows what will be a park area in the Old Town verse. I plan on having a tree, benches and people selling food. Image D. shows the height I'm adding and the "stairs" and raised areas where additional greenery will reside.

First, however, I need to paint up the styrene so it's not polar white. :)

I think this will work rather well once it's all dolled up. I have about four plain sections to work on and some other spots where the building bases don't cover the whole thing.


Monday, November 14, 2011

Feather River Trains


 I'm an N Scale train guy and have searched around the Bay Area along my routes to find shops that carry the illusive n scale merch. Sure, some places have sections devoted to n scale items, but most would only have enough merchandise to fill a small suitcase.

The most awesome Chuck at FEATHER RIVER has managed to create a shop that mainly focuses on n scale. I like to call it Heaven. :)

He has buildings, rolling stock, figures and my personal favorite - DETAILING PARTS! A huge selection of details for n scale buildings and the like that really add to the overall look of the layout. Sure, you can use Feather River's GREAT website to order these parts online. Convenient for sure. However it's awesome being able to roll into the shop and actually browse the items - holding them in your hand and looking them over before buying. Man, it's just so nice being able to do that and not having to hear some shop owner chirp, "Oh, we don't have those, but I can ORDER it for you!" 

Feather River is a must stop shop.
Call for times if you're traveling a long distance.

A+ shop.   A+ service!


25 Mitchell Blvd., 
Suite 14 San Rafael, 
CA 94903 
Phone: (415) 499-0664 
sales@featherrivertrains.com

Chan's Trains and Hobbies

Chan's Trains and Hobbies is a fantastic little train shop. It's not huge, but it's packed to the ceiling with trains and train items in many different scales. I've seen everything from N to Garden scale in the shop and they have a selection that ranges from the affordable to "HOLY COW! How much?!" :)

The staff is reasonably helpful and responsive. It can suffer from small shop syndrome at times where there is one guy working there and he happens to be helping someone else when you walk in, so you may have to wait. More often than not, I'll head in and be the only guy in the shop, so that's rare. The staff is always friendly and very helpful without looming and annoying.

As an N-Scale guy, I'm pretty happy at Chan's, however the selection can be a little lite with small items like cars and figures. They have them, but not much. As a matter of fact, on my November 13th, 2011 visit, the primary selection of cars they had were firetrucks. A lot of firetrucks. They carry Woodland Scenics and the usual terrain fair and have a great selection of KATO track. Again, it's not like N is a huge pull for train people, so the selection they offer - while somewhat limited in parts - tends to be more than what most shops in the Bay Area have unless you roll into FEATHER RIVER TRAIN SHOP which is primarily an N shop.

All in all, there's a reason Chan's has been in business since 1973. They do it right!

CHAN'S TRAINS and HOBBIES
2450 Van Ness Avenue
San Francisco, CA 94109
Neighborhood: Marina/Cow Hollow
(415) 885-2899
www.chanstrains.com/

OPEN 7 DAYS A WEEK!  Hours: Monday - Saturday: 10 - 6pm Sundays: 12 noon - 5pm 

Monday, July 25, 2011

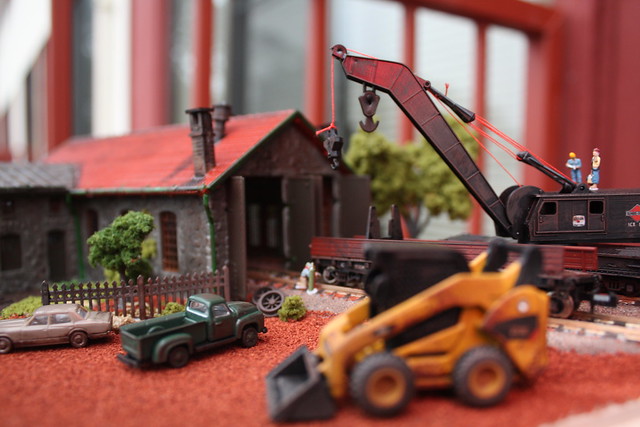
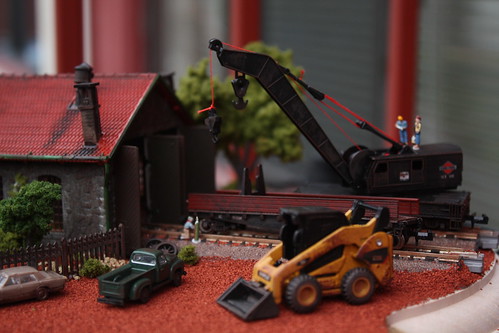
Pola N210 - Lokschuppen - Happy With the Outcome


I still have some details and "fine tuning" I want to address, but I'm really happy with the progress.
Some of the items worked out really well. The Cat weathering, crane weathering and the detail weathering on the fence and wheels by the doors really helped to set the scene.
In retrospect, I think a dirt brown would have been a better base ballast than the iron red. I may go in and try to address that somehow.

Now...where to put it? :)

MORE IMAGES HERE:
http://www.flickr.com/photos/malcojojo/sets/72157627277283970/

~~

Wednesday, July 13, 2011

Station Project - Ballast Madness

Overall, I'm happy with the way this is turning out, but I need to learn a little more about laying down ballast. It's MADNESS.

My process was to lay everything out, block out where I wanted things with pencil, then start building up from the pieces to the foliage. However, working with ballast was difficult (and messy!) in the space I have. I got a little ahead of myself as well, dropping in some trees before the glue was dry. (SEE: "I need to take more time with projects" :) )

Then I tried to be smart and do the ballast application outside. However, I found that high winds and ballast make more MESS than PROJECT. hehehe Moving back inside, I finished up and added round one of foliage.

The board I used had a WICKED bend in it after all that project glue was applied, but today when I looked, the problem fixed itself and the board is now laying flat.

In theory, I'll be able to take this whole section and transfer it to the future, "When we get a bigger place" layout - connecting it and building out a little more platform area.

More progress shots later.


~~~ (later)

Hmph....someone here says to mix the glue and ballast beforehand and use it as a combo paste. Interesting. I'll have to look into that.