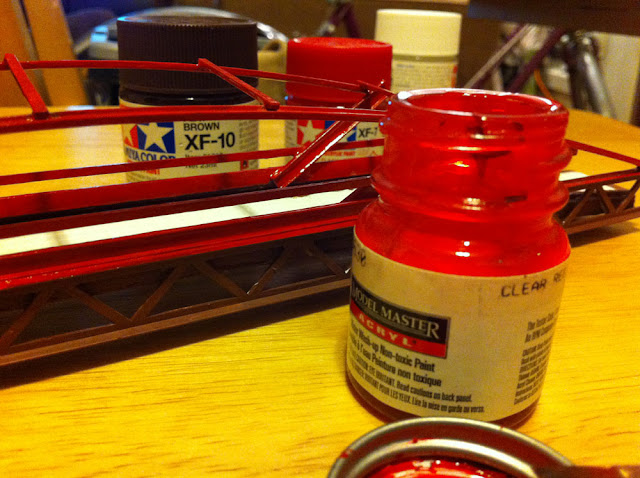
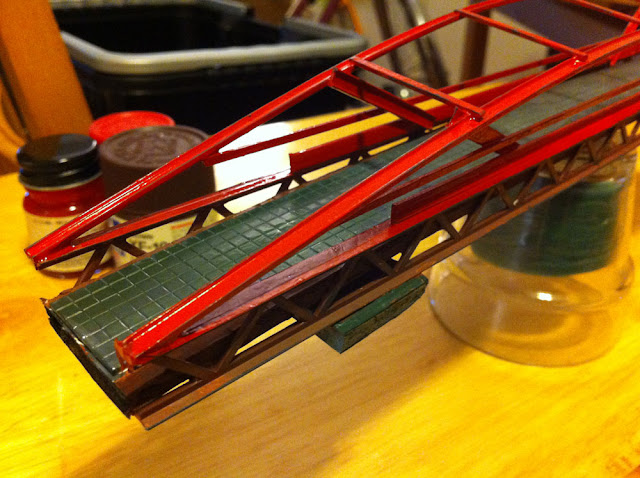
The big Soyokaze Bridge paint up is DONE! Whoo hoo! :)
I was slightly scared to go in and paint this. I didn't want to have to go back in and RE-paint it if I messed it up. However, I thought it through, planned it out and went into it calmly and slowly. That really helped. I didn't have grand lighting for the photos, but you get the point. :)
 |
| Figure 01 |
I started with a base of an almost "salmon" red. I wanted to get something that would make the red pop more than the brown would have as a base. (Figure 01)
 |
| Figure 02 |
 |
| Figure 03 |
 |
| Figure 04 |
I weathered the whole bridge up a bit as well, adding some grime and drip areas and making sure there was some wear on the edges and the like. (Figures 03 & 04)
The Soyokaze Bridge will go over the lake area. I had thought about putting in pillars to support the bridge, but I'm going to use styrene to create support struts that will build into the gray block seen in Figure 04. they will drop into the hillside. I think this will add to the overall look and feel of the bridge curves.
I'll post photos of the paint bridge in place.
<><>

No comments:
Post a Comment